
|
Making Tooth Icon, Part Two
©2007 Judith Hoffman
Return to part 1
|
Next I wanted to add some texture to the silver halo. I fused on some silver sawdust and the twisty bits that come up when I'm drilling holes in silver. Fusing works best when it's done with sterling silver, for both the base and the things fused to it.
|
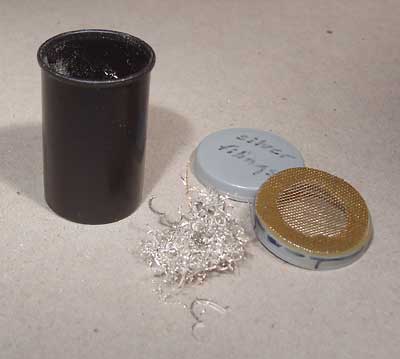 |
To make a shaker can for the sawdust, I cut away the center top of a film can lid and glued some fine brass mesh over it. I used a big gob of epoxy to make sure the mesh was sealed to the lid. I also store my twisty bits in this can.
|
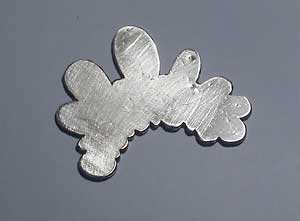 |
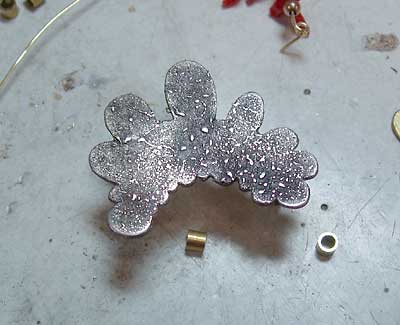
Here's my halo, sitting on a piece of scrap paper. You can see the scratch marks from sanding, to remove all traces of dirt and oil. There are also some cat hairs and dust on the surface, these will burn away. It has been brushed with Battern's flux.
|
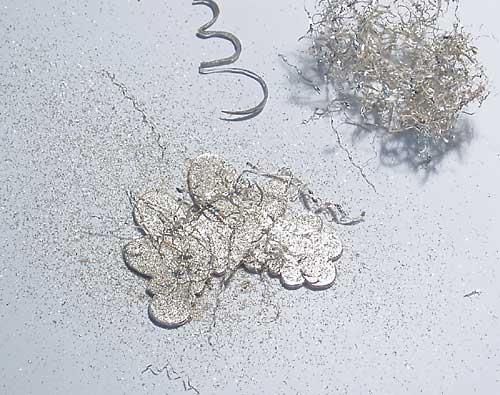 |
Both the sawdust and the twisty bits have been scattered on the wet flux. In the upper right corner, you can see a clump of twisty bits and a little piece of scrap silver that I saved to fuse onto something. After putting the sawdust on the silver, I lift the silver halo carefully and transfer it to the soldering surface. Then the extra sawdust can be poured back into the container from the scrap paper.
|
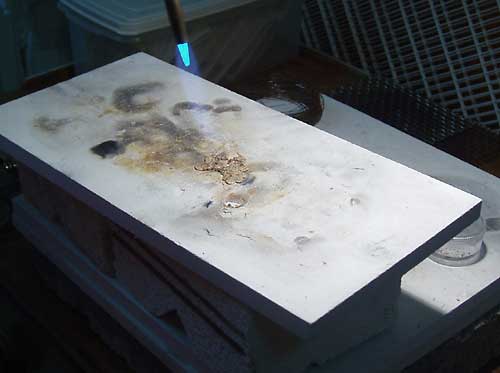 |
Here I'm heating the piece of silver with the sawdust on top. Since the flux is still wet, I heat very slowly from far away. The flux will boil up if heated too fast, and throw the sawdust off.
|
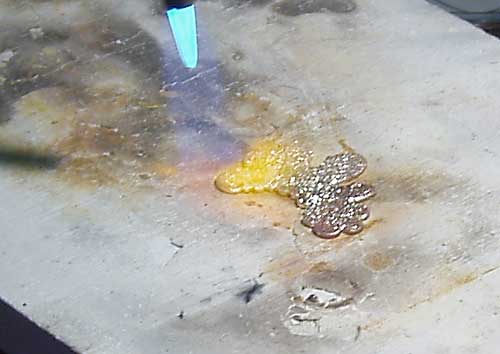 |
After heating the flux until it is dry, I move the torch in closer. I keep the torch moving to apply even heat all over the surface. In the photo above the silver has gone molten on the surface. At this point the little bits of sterling sawdust and twisty bits of silver are fused to the halo shape, so I take the torch away immediately.
|
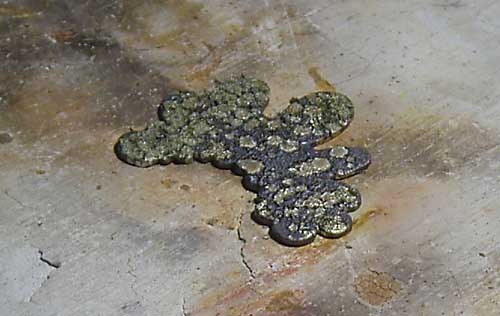 |
I let the fused silver sit and cool a bit before dropping it in pickle. Most jewelers use Sparex to remove the flux and firescale. I use white vinegar, which takes longer, but is a milder acid.
|
 |
Above is the finished halo. The texture from the sawdust feels like coase sandpaper. You can also see a few little lines from the long twisty bits, but most of them blobbed up because I forgot to flatten them down. They are so fine they melt quickly if they aren't in contact with the surface of the metal. I dipped this in liver of sulpher, then sanded the surface with 600 grit sandpaper to bring out the texture.
|
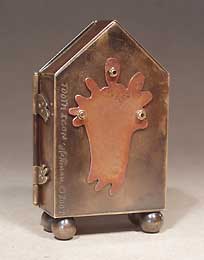 |
The tooth got dirty as I was working, so I soaked it in some hydrogen peroxide for about an hour. Then all the parts were assembled with nuts. I decided the copper layer in the mock-up was too much. But it ended up on the back, to cover a little hole I drilled so I could remove the black plexiglass. I also waxed everything with Rennaisance wax to preserve the patinas. Here is the web page with bigger views of the finished icon. And here is my blog entry for the Tooth Icon.
|
Return to part one..
|